
36 keys is enough
I like keyboards. A lot. I like them so much that I started building my own. And once built, programming them, making them answer my needs way better than any pre-built keyboard.
Using a tool I built daily was a pleasant experience. Little by little, I got a better grasp of what I really needed and what did not matter after all. Every iteration of the build-program-use cycle led to a better-suited tool. Until I reached my end-game, a keyboard so handy that I stopped building more and stopped updating the firmware: the final iteration.
Of course, this is a myth, practically a running gag in the small community of people making their keyboards. There are always some small improvements, and some finicky issues to address, this journey never really ends. That being said, I’ve been using the same setup for almost two years in a row now. And I feel like sharing why and how, as a software developer, I went from a full 105 keys to a 36 keys split keyboard as my daily driver.
Links to the layouts and a picture of the final result are at the end of this page.
Also, I thought 36 was enough. But as it turned out, 32 was enough.
Why?

First thing first: why did I do all this? I mean, wouldn’t it be easier to stick to a regular keyboard, do my job and call it a day? Sure thing but… It started to hurt.
I’m a software developer by trade and so I spend most of my weekdays sitting in front of a computer. To be fair, I also spend most of my free time this way as I enjoy hacking things around. But, at some point, I started feeling pain in the neck, lower back, wrist, and fingers.
After considering multiple aspects of this issue, from the quantity to the quality of my sitting/resting positions I thought about using better tools for the job. I started with a simple ergonomic mice and it helped feeling better on my right wrist. So, I simply continued my quest for better tooling by looking at the next desk-sitting piece: the keyboard.
Spoiler: it worked, and I regret nothing, neither success nor failure along the way. I learned plenty of things while doing so, and I recommend everyone to question their working habits to improve even the slightest aspect of it.
How?
I did not do it all at once. That’s for sure. It took time, money, patience, and willingness to learn new skills to go from I don’t know anything about this to I did it!.

In the following sections, I’ll dive into the multiple steps I went through. I’ll explain what choices I made to address every single pain point I had with the traditional keyboard approach and also why it took multiple trials and errors before settling for a 36 keys split keyboard.
Layout
The first thing to know about this journey is: I’m a native French speaker living in France and therefore writing in French. As a consequence, I need diacritics, those characters used in French such as the well-known é and à and the lesser-known ç or œ. While those characters are present on an AZERTY keyboard, they are nowhere to be seen on a QWERTY one.
The second thing to take into account regarding my keyboard needs is that I use vim-based text editors as my primary means to interact with text and code of any sort. Vim and the like are controlled by a plethora of keybindings that were thought of a long time ago on a QWERTY keyboard. As a result, even as a French, I picked the QWERTY layout to better integrate with the tool I use most.
There are far more than two alternatives when it comes to layouts. QWERTY and AZERTY were designed for typewriters to lower the chances for typebars to meet (making them, the less optimized layout by design). Some people tried to address this badly designed interface, stating that, in the computers era, there was no reason left not to use optimized layouts and came up with DVORAK or BÉPO for example. That did not stop some brilliant mind to dig further into this, giving us the QWERTY Lafayette or the Ergol layouts.
Despise all these initiatives, I felt like availability was more important than any other aspect. I wanted to feel at home on any machine I lay my hands on without having to install or configure anything. So I settled for an available-everywhere layout, i.e. on every machine regardless of the operating system it runs on. QWERTY US-International, I chose you!
QWERTY US-International is based on the QWERTY layout. It relies on the Alt/Alt Gr keys to input special characters such as œ in a single move. On top of that, it makes heavy use of dead keys allowing the user to input diacritics as follows:
- Press a dead key determining the diacritic you want to use,
- Press a regular key that you want to see altered.
For example, pressing ' followed by e gives é. In between the two presses, the computer stands still, waiting for the second input.
Just like vim, it’s always there and gives, IMHO, the best of the two worlds. I can write any character for any language all the while not fighting my keyboard when using my text editor.

Size
You know what they say: size does not matter. Well, I wanted it smaller and it mattered to me.
As far as I can remember, I never used the Num Pad. Even when using an AZERTY layout which does not provide direct access to the number line, I accessed them thanks to the Shift key rather than using the rightmost part of the keyboard.
Let’s be honest, I did not use the ~6 keys cluster above the arrow keys either. Also, as said before, I use vim. And I learned how to move through text using the infamous HJKL keys rather than resorting to the arrow keys. So, I do not need whatever is at the right of the backspace/backslash/enter/shift/control column.
There is another part of the keyboard I barely use: the F line. Make no mistake, I know they can come in handy with Alt + F4 to close applications on Microsoft Windows, F5 to refresh a browser tab, or various constructor-dependent keys to access BIOS settings and so on. During the previous years, I had to plug in an external keyboard maybe twice to use those keys. This is a sacrifice I’m willing to make (and while there are ways to keep those keys on even the smallest keyboards, I did not bother doing so).
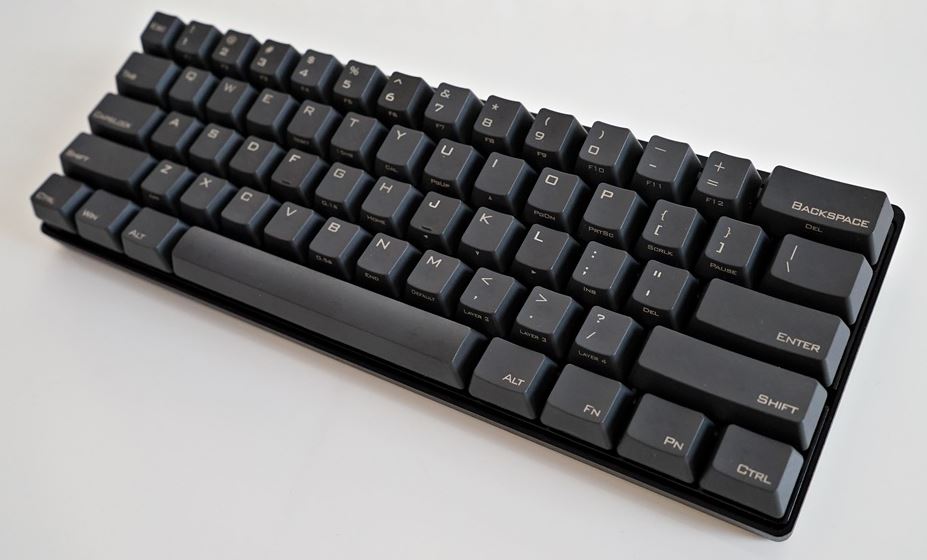
When you remove all these keys, you get what is called a 60% keyboard. Back in the day, I did not know I could actually build my keyboard so I simply bought a Pok3r from Vortex Gear.
You know what? 60% is enough!
The mouse is closer as there is less spoiled space on the right-hand side of the keyboard. Fewer movements equal a better setup and this was definitively a massive improvement.
I brought my Pok3r to work every day for more than a year as I also wanted to have it at home for the late hacking sessions. I enjoyed it so much, my first custom build was also a 60% which is still proudly standing close to my desk to this day.
It was fine at first but some things started to feel wrong after a while. The main issue I had with this was wrist pain. Not that it came from the Pok3r itself, I had it before. But when you fix a problem somewhere, all it does is shift your focus to the next issue to tackle. And the wrists were the issue.
Split
Notice of we’re crunched over the keyboard while typing. It’s such a small surface to lay both our hands! So small we have to hunch, turn our shoulders inside to bring our hands on top of the keys, and then bend the wrist sideways.
What if there was a solution to this? What if we could sit back and breathe all while typing?
That’s right! Split keyboards! Comfy isn’t it?
Having a split keyboard solved multiple issues at the same time. Namely, the wrists and lower-back pain disappeared.
- A split keyboard allowed me to open my shoulder, better facing the screen and also breathing better. As a direct consequence, I sat in a much more comfortable position, fully enjoying the back of my chair sitting straight. No more lower back pain!
- It also freed my wrists of any forced torsion as both halves can have their specific orientation. I then noticed something that’s still true for me today: the right pad stands slightly more rotated than the left one; This would never have been possible with a non-split keyboard No more wrist pain!
Ortholinear
Ever noticed your keys are laid down on rows and not on columns?

Does it make any sense? I mean, our fingers are clearly not made to repetitively go sideways. They’re precise and strong when it comes to straightening or closing them but the wrists are here to move them on the sides.
And yet, most keyboards on earth require us to twist our fingers, simply because the keys are not right on top of the others. This type of key distribution is called row staggered. And, just like the QWERTY layout, they’re a thing because there used to be mechanical constraints during the era of the typewriter.
Putting keys on a regular matrix, with rows and columns aligned gives what is called an ortholinear distribution. It’s a first step in the right direction as it reduces stress on the fingers by a lot compared to a regular keyboard.
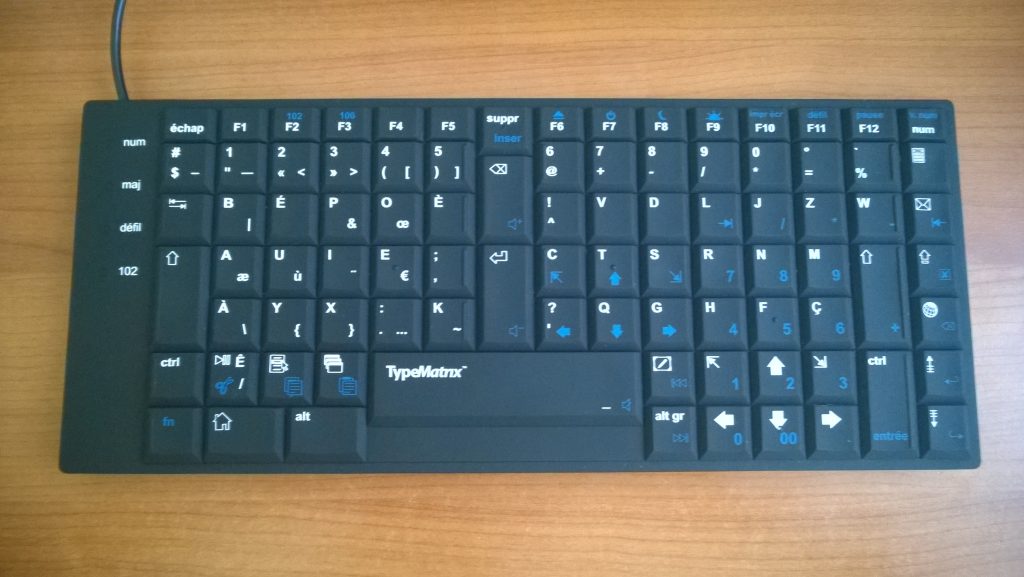
As an example, I tried to use a TypeMatrix for a couple of months when I tried to learn the BÉPO layout. Unfortunately, this layout is (IMHO, some may disagree) fully incompatible with vim.
But wait, there is more! Another option is the column staggered distribution which makes even more sense as it supports more natural movements of the fingers. Indeed, fingers don’t all have the same length so it makes no sense to put keys on a regular matrix.
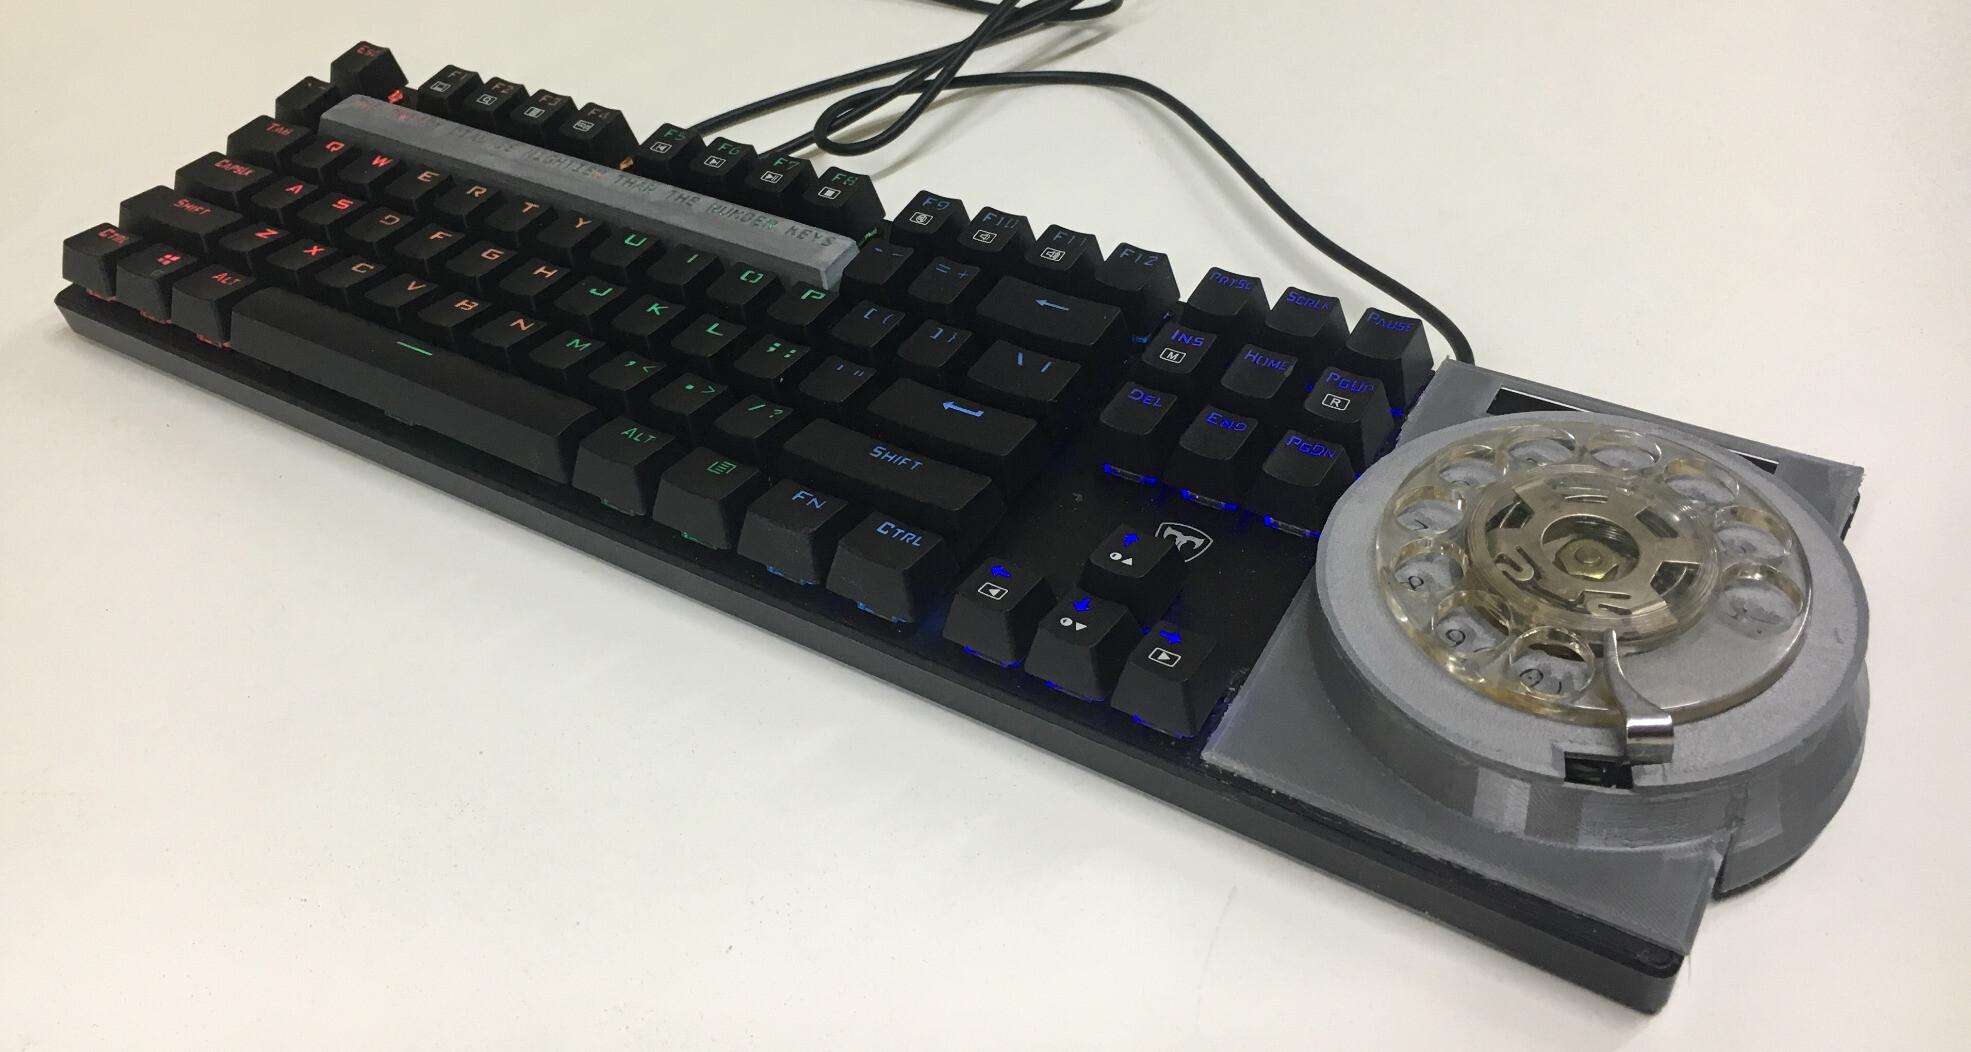
When I got myself a split keyboard, I went for a column staggered at the same time. This type of keyboard is sometimes called a split ergonomic keyboard. I went for an Iris, a 56 keys split ergo.
And guess what? It made the fingers’ pain go away! Three out of four!
Keycaps
When it comes to building a keyboard, there are plenty of options. I spoke about the size and shape of the board(s) already. But there are also the switches and keycaps. They’re both very opinionated topics (shape, width, height, springs, linear, tactile, clicky, you name it) and are not what I want to put focus on in this article.
That being said, there is one thing worth mentioning: most keyboards have letters written on their keycaps. And, it makes sense, how else am I supposed to know what key code will be sent when I press a given key?
Well, that’s not entirely true. I, for sure, needed the legends while learning but it was so long ago I can’t remember it. Now, I know my keyboard layout by heart. And I’m pretty confident most people do without noticing. As a consequence, I barely look at the keys while typing: my fingers move, left, right, up, and down, and characters get printed on the screen. It’s just like walking, talking, or even driving, I don’t need to look at the stick to know what gear I’m on anymore.
At some point, I changed my printed keycaps to blank ones. Pretty sure I just wanted to see the expression on people’s faces when looking at my toy and it was a valid enough reason to do so.

Boy oh boy, I was wrong! I still looked at the keys, and a lot! Nonetheless, I stuck to it, and day after day, I learned not to look down. There was nothing to look at after all.
Achievement unlocked! The neck pain went away! I did not anticipate this at all but it did work: the last pain point was no more. It took a little more than three years, one pre-built, one custom-built 60%, and an ergonomic-split-legendless keyboard to fix all four issues I had with regular input devices.
Going further
I learned many things along the way about the ins and outs of a piece of hardware so common we don’t even see it anymore. I spoke about the shape and dimensions until now but I stayed silent about the software part.
Most custom builds run a firmware called QMK. This is the software that converts every key press to a key code and sends it to the computer. It is very versatile and full of amazing features. In the coming sections, I’ll dive into some of them that allowed me to go from 52 to 36 keys.

Home row
The home row on a keyboard is the row where the fingers are supposed to rest. On a QWERTY layout, it’s the second row of letters. When using a split keyboard, the left pad’s home row contains asdfg while the right pad’s home row contains hjkl;. Furthermore, the f key and the j key usually have a small bump meant to signal the index position.
The more the fingers stay on the home row, the less stress they endure. Starting from there, my goal was to reduce travel from and to the home row as much as possible. And the first thing I noticed was that the number row was far (two keys away, that’s far) from the home row.
Time for a change!
Number row
I said it before, my first move years before this was to remove the Num Pad. Now, I remove the Num row. And yet, I’m still able to input numbers.

If you’re still reading this, I’m positive you’ve heard of modifiers. For example, Shift modifies what you input and gives you the capital version of the key you pressed. Or Control which alters whatever you press to give you another action like Ctrl-c copying data instead of sending the c key-code.
Well, QMK has this too. And it’s damn powerful! It allows for the creation of multiple layers on top of each other with fully different behaviors. This is what allowed me to physically remove the Num row while still being able to type numbers.
The top row, the one with qwertyuiop has 10 letters. Incidentally, I need to be able to input 10 digits. Awesome! All it is left is to add a modifier giving access to a layer that sends 1 on q, 2 on w, and so on until 0 on p.
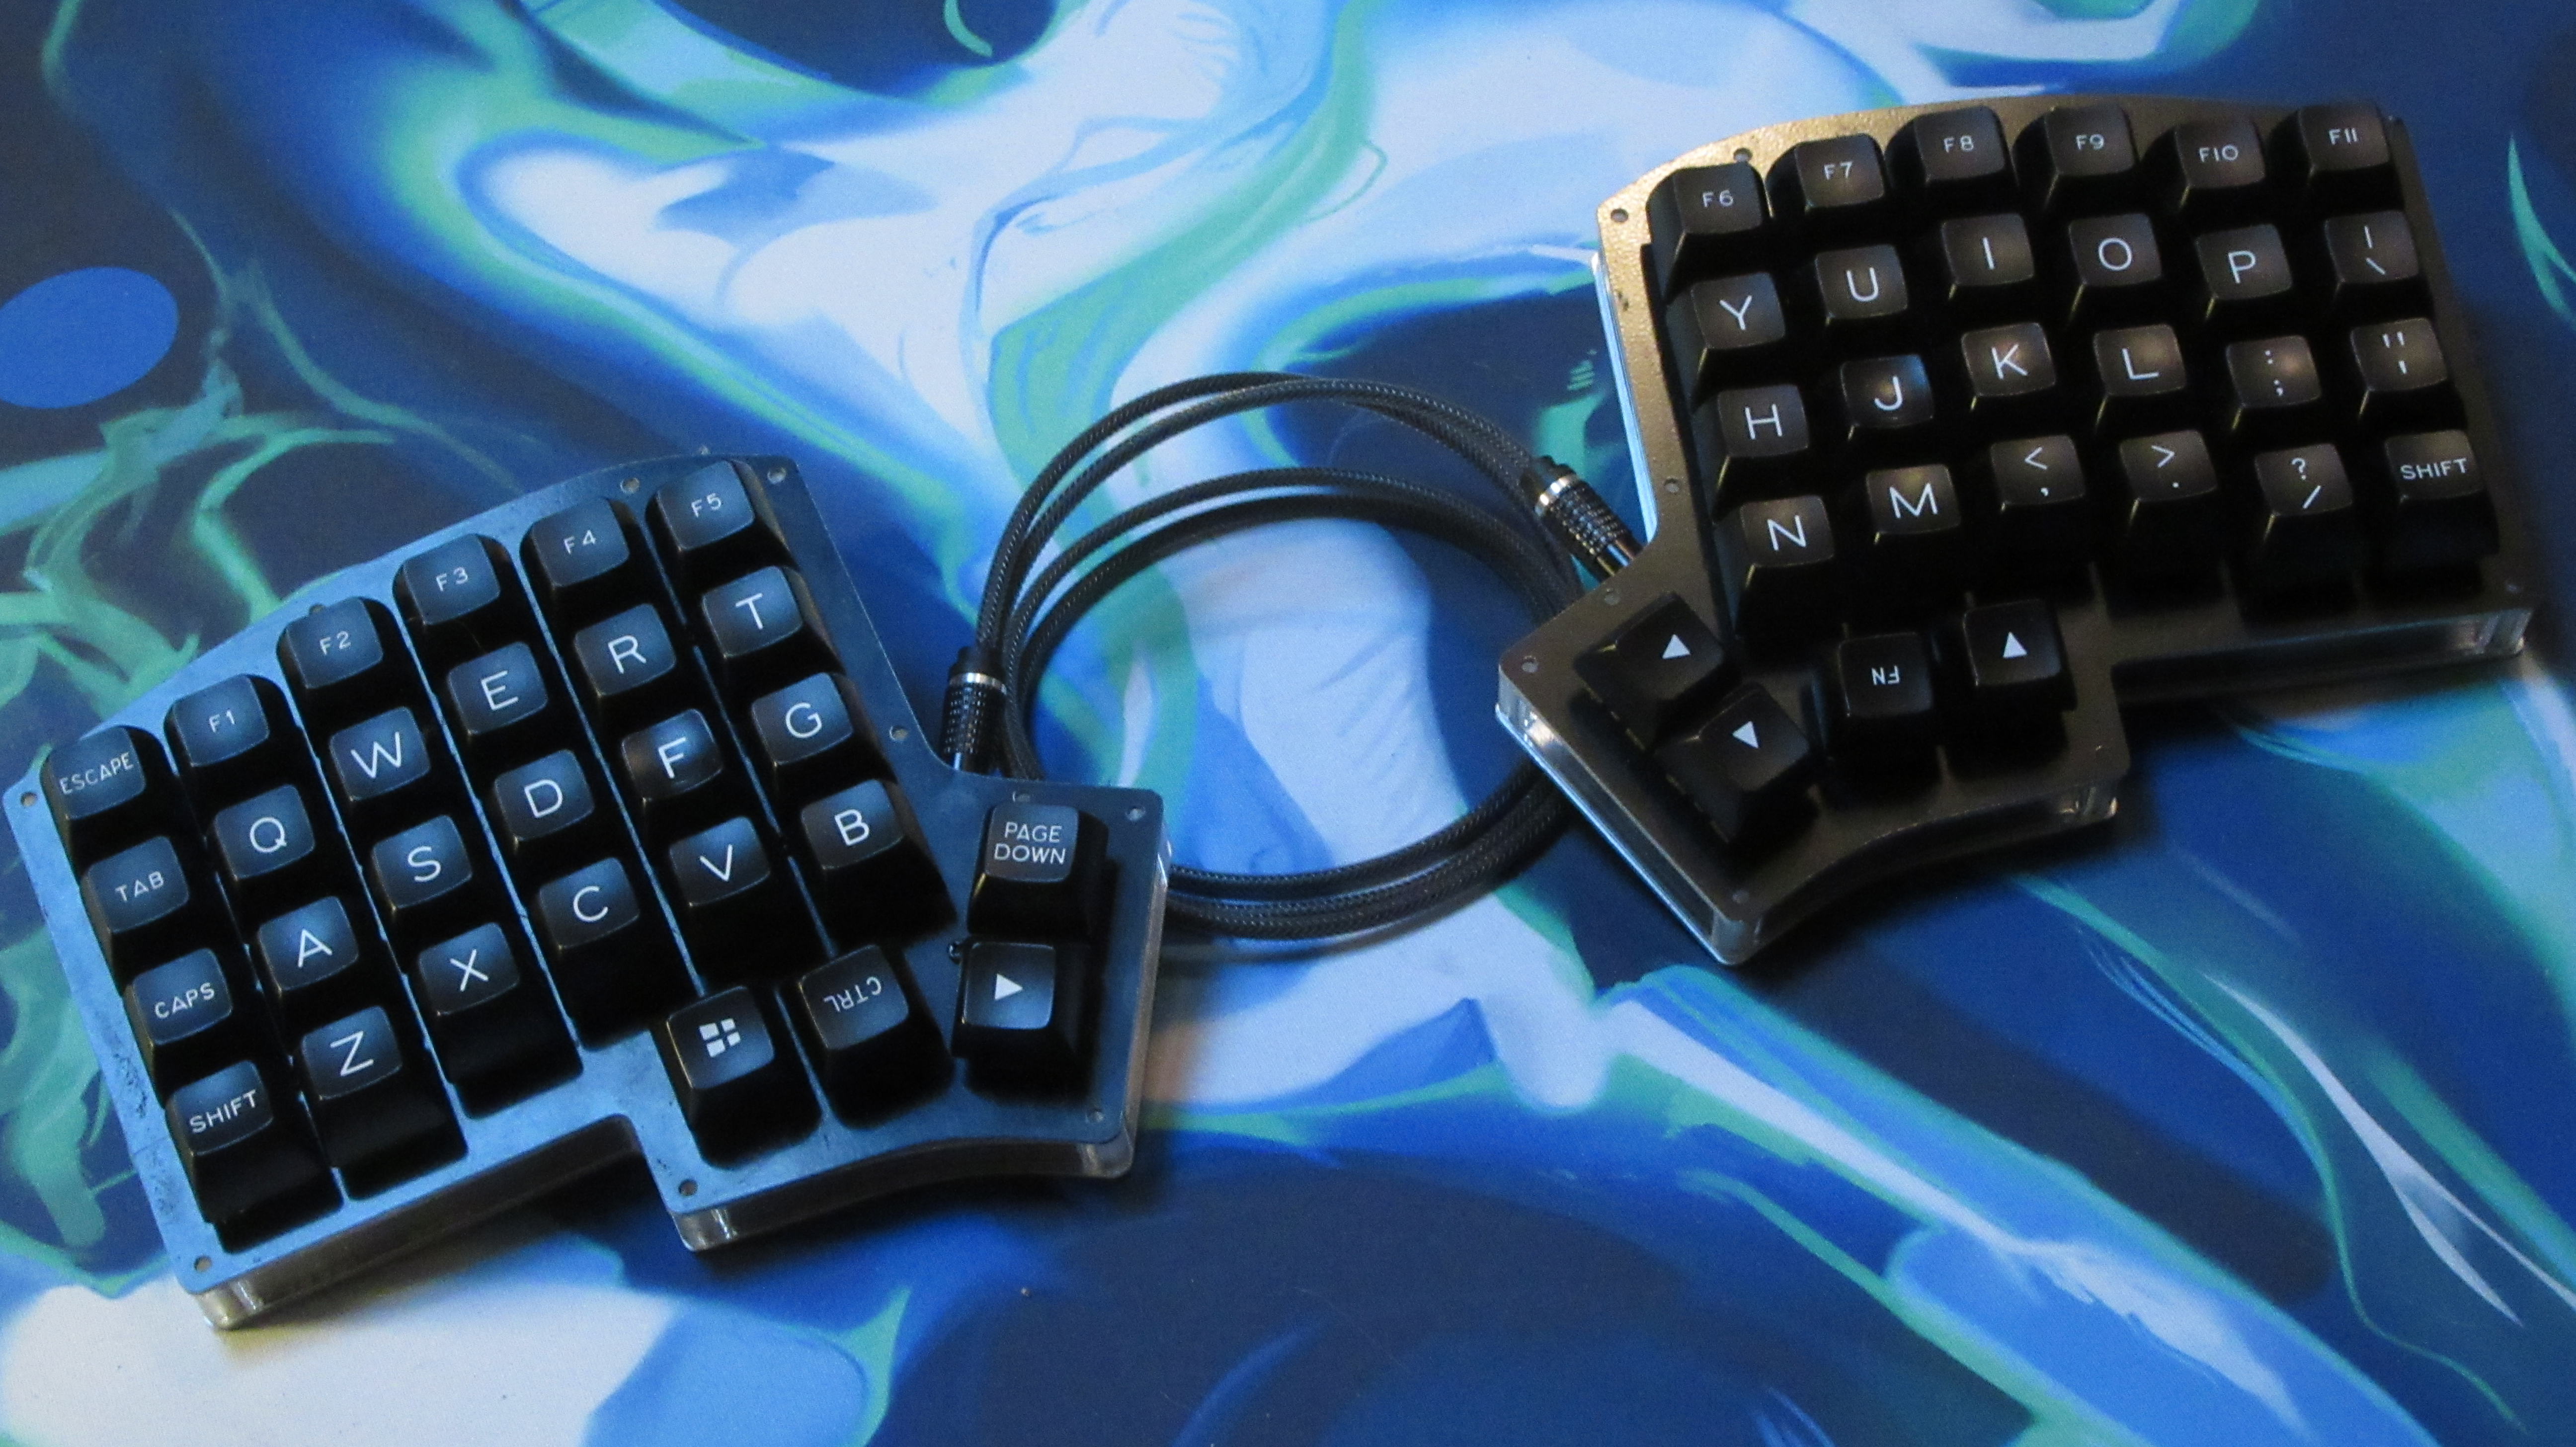
Thumb clusters
Most if not all split keyboards present what is called thumb clusters. Usually three but sometimes much more keys on each pad and accessible to the thumbs. On the Iris shown above, there are four keys per thumb cluster for example.
Thumb clusters come in handy to gather often-used keys that are usually distributed on the left and right sides of a regular keyboard. Or, to add hand-crafted functionalities which is what I was talking about in the previous section.
Just like the home row is where the other fingers rest, there is a key on each thumb cluster where the thumb will settle. This is the key I picked for two of the most important keys: Space and Enter. I looked at the space bar of my full-size keyboard and noticed that the right-hand side got far more stigmata than the left. So, I chose to put Space on the right pad and moved Enter to the left.
Custom modifier
As said before, I moved the Num row to the first letter row thanks to a custom modifier giving me access to a whole new layer. And I wanted this layer to be easily accessible.
There is nothing easier to access than a key my finders are already on. So, yeah, it has to be on either the home row or a thumb rest position.
I chose the right thumb cluster (more on why later). This means that, when pressing the Space key, the keyboard sends a Space key code. But when I hold this very same key, the keyboard shifts to Layer 1 and gives me access to the numbers.

Special characters
On a QWERTY layout, numbers are directly accessible and their shifted version gives special characters: !@#$%^&*(). Those characters are needed, when writing English/French but also when programming. So, they have to be as easily accessible as before, if not more.
As a consequence, I needed a Shift key in an always and quickly reachable position. I chose the left thumb, just where Enter is, but held, not tapped, just like the Layer 1 is the held Space.
It brings symmetry to the already symmetrical split keyboard. I feel like symmetry (there will be more) helps understand what’s going on without having to think about it. Having those two keys, Shift and Layer 1 facing each other make reaching numbers and special characters easy and natural: both hands do the same movement, at the same time, leaving the other height fingers perfectly free.
More on Layer 1
I’m not going to give a lot more details about what’s on my Layer 1.
Suffice it to say I moved the Home/Top/Bottom/End keys and a very important crucial Autruche key. Yes, Autruche. I’ve got a single key that input the whole word Autruche (Ostrich in French). I use it as a debug word when I resort to plain-old-printf debugging because it’s very unlikely my coworkers use the very same word when resorting to this forbidden-yet-wildly-used technique.
My point is: I put on Layer 1 anything I find useful. After all, it’s a whole (minus one key) new keyboard accessible, sky is the limit here.
Pinky swear
Pinkies are weak. At least compared to other fingers.
And I can’t wrap my head around why they’re that solicited on a regular keyboard. The two left-most and right-most columns on a 60% are to be used with pinkies. This implies bending them sideways and making the tap or hold keys.
Why not use stronger fingers? And, while at it, why move fingers? Let’s remove those external columns and see what happens.

Left column
The left column has the following keys: Esc, Tilde/Backquote, Tabulation, Caps Lock, Shift, and Control.
Almost all those keys are of utmost importance. I can’t work in vim without Esc, I need the Tilde in my terminal and as stated at the beginning of this page, I need the Back quote as a dead key to input è, à and others in French Shift is already under my left thumb but Control has to be placed somewhere. The only exception is Caps Lock: while this key had its importance back in the typewriters time, I don’t use it and so, I don’t add it to my firmware.
Right column
The right column has the following keys: Backspace, Backslash/Pipe, Enter, Shift, and Control.
I kind of need to be able to erase text easily so Backspace has to find a new home. Backslash and Pipe are used a lot while programming so, the same. Enter is already under my left thumb, just like Shift. And again, Control will be moved somewhere handy.
That’s not all. If you take a close look at an ergonomic split keyboard, other keys disappear in this operation: not only [{ and }] but also "'. There is no way I can work without those keys. Sounds embarrassing at first but it’s only for the better as I’ll show soon.
Home row (again)
There are six keys, three on each pad, that are on the home row without pinkies on it: SDF and JKL. And QMK has what’s called combos: pressing multiple keys at the same time sends a single key code.
At first, I tried to use three keys and even to use multiple keys of the two pads simultaneously. I didn’t click. It felt weird, I missed keys and did not have good left-right synchronization. So, I settled for a maximum of two simultaneous keys and always with a single hand.
The left pad offers SD, DF, and SF while the right pad offers JK, KL, and JL. Six combinations without moving from the home row! Isn’t it wonderful? I think it’s awesome.
Quote me, I’m famous
As stated before, I feel like symmetry helps a lot here. And I need to find a place for Backquote and Quote.
SD and KL will do. I left the Backquote on the left with SD and the Quote on the right.
They both use the same fingers and are both dead keys. I can still input whatever diacritics I want regardless of the language I’m writing.
Success!
Gang of four
I left Tabulation and Esc on the left pad under SF and DF respectively. I don’t have a profound reason for this except that it felt right to do so.
Same as Backspace and Backslash/Pipe going under JK and JL respectively. They were on the right-hand side before, and they’re still there, makes sense, end of the story.
I was surprised to see how well it integrated with my typing habits. Not moving fingers was really pleasant and it took me no more than two days to never mistype again those six “keys”.
Also, Backslash is the default <Leader> key in vim. I use <Leader> a lot and never bothered setting it to another key (I’ve heard that Space is seen as a great alternative, 👋 @Kaze, inventor of the Lafayette layout). Having it right under my fingers thanks to this was kind of the cherry on top of the customization cake.
Thumb cluster (again)
So far, I only used one key per thumb cluster: Enter/Shift on the left, and Space/Layer 1 on the right. It’s time to make good use of the last four keys 💪
Brackets (and more)
When I listed the keys that needed relocation, I spoke about [{ and }]. But, as a programmer, I see them as glorified parentheses ( and ). And, let’s not forget the chevrons < and >.
I also mentioned I like symmetry a lot when it comes to keyboards. Why not… Yes, why not put them all on a single key? Well, kind of, you know, symmetry…
QMK has layers, combos but it also has tap dances! One single key can behave differently whether it’s tapped, or held, but also double tapped and double tapped then held… The only limit here is your imagination. And mine went there.
- Single tap
( - Double tap
[ - Hold
{ - Tap hold
<.
And of course ([{{ are on the left-hand-side, and )]}> are on the right hand-side. Once again, I was surprised by how little time it took to get accustomed to this.
Note that I never use Shift + 90 to get () but I sometime reach for Shift + ,. to get <> 🤷 The Tap+Hold takes more time and is not that natural. But Single Tap, Double Tap and Single Hold are marvelous tricks here.
Controls
Control keys are ubiquitous. They’re used on every operating system and most software. There is no way a keyboard can be of any use without Control keys.
I know I said pinkies should be less solicited. But I also said that not moving my fingers was good. A bit of trade-off is in order.
Thanks to QMK Tap Dance feature, I can have the A and ; keys (the pinkies resting position) act as A and ; then tapped but as Control when held. There’s not much more to say about this: it works like a charm and gives two Control keys without moving a finger 👌
Are we there yet?
Almost done, I promise. There are three keys left. Some may even say it’s only two.
Alt and Alt Gr
If you’re an emacs user or a very attentive reader, you saw that I spoke about Alt and Alt Gr with the QWERTY US International layout but did not place them on the keyboard.
I still have two keys left, one per thumb cluster. And, I chose the left-hand-side with another use of the Tap Dance feature:
- Hold:
Alt - Tap Hold:
Alt Gr - Tap Tap Hold:
Shift + Alt Gr.
I picked the left-hand side because I use i3 as my window manager and Alt is my Mod key allowing me to move from one workspace to another. And I wanted to be able to control i3 while having my right hand on the mice. I know it sounds weird to have three versions of Alt on a single key but, believe it or not, it feels all right!
Command me, I’ll obey
The very last missing key is the Command key on Mac OS or the Windows key on, well, Windows.
To be fair, I barely use it as I’m 99% of the time running Arch Linux. Still, the 1% left requires this key, mostly on Mac OS.
So, to the right, it goes.

Conclusion
I’ve been wanting to write this down for a long time.
I did not go down the hardware customization rabbit hole. Suffice it to say that some people have keyboards worth thousands of dollars with gold-plated keycaps and hand-crafted casings in rare materials. While I find it most fascinating, I still see a keyboard as a tool for a job and mine are not so fancy and usually cost around 50$ or less.
{{ figure(path = “keebs.jpg”, alt = “My latests keebs at the time of writing) }}
As you can see, some have more than 36 physical keys. But, thanks to QMK, I simply don’t program them and therefore don’t use them.
It took me years and multiple keyboards that I bought, built, and later sold to go from 105 to 36 keys and it was for the better. I don’t think I type faster (maybe a bit since I don’t look at my hands) but I’ve reached a much higher level of comfort which was the goal of this journey.
I learned how to solder finicky CPUs on small PCB, and to search and address issues using a multi-meter when mistakes were made. I discovered the world of embedded hardware programming thanks to QMK and met an impressive number of keyboard enthusiasts along the way.
I don’t think I’ll go any further down this road. Doing so would imply trading keys for multiple presses and I feel that goes against my quest for efficiency. I might one day consider moving the Alt key to the right and using Command as a way to control i3 to better balance the thumb usage. Except for this existential question, I’m really happy with what I’ve got at this point and think everybody should look at the tool they use daily and ask themselves: “How can I improve this?”
If you’re interested, all the keymaps I use are available on my QMK fork. The most interesting part is probably the userspace describing shared behavior between every keyboard I use.
- The Corne (Crkbd),
- The Gergo,
- The GergoPlex,
- The GH60 Satan.
The first three are the one on the last picture. The GH60 is a the first keyboard I ever built. I don’t use it anymore but I keep it anyway.
Special thanks to Nuclear Squid who sent me the picture of the Iris keyboard 🙏 He’s also the inventor of the Ergol layout, check it out!